Dimensions of deliverables
- Thickness [mm]
- From 0.01 to 3.50
- Width [mm]
- From 2.00 to 300
Depending on the alloys, not all thickness/width combinations are available.
Minimum ratio: Width / Thickness = 4:1
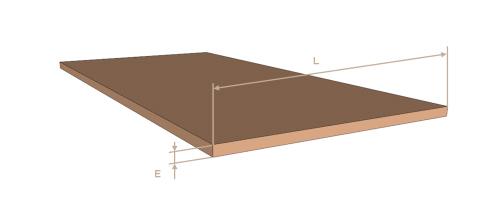
Depending on the alloys, not all thickness/width combinations are available.
Minimum ratio: Width / Thickness = 4:1

| Strip thickness [mm] | Thickness tolerance [mm] | ||
|---|---|---|---|
| from | to | standard | special |
| 0.01 | 0.05 | ± 0.0025 | ± 0.001 |
| 0.05 | 0.10 | ± 0.004 | ± 0.0025 |
| 0.10 | 0.20 | ± 0.005 | ± 0.003 |
| 0.20 | 0.40 | ± 0.008 | ± 0.004 |
| 0.40 | 1.00 | ± 0.012 | ± 0.006 |
| 1.00 | 1.50 | ± 0.015 | ± 0.007 |
| 1.50 | 2.00 | ± 0.020 | ± 0.010 |
| 2.00 | 3.50 | ± 0.030 | ± 0.015 |
| Strip width [mm] |
Width tolerance [mm] | |||
|---|---|---|---|---|
| from | to | standard | special | Extreme |
| 2 | 99 | 0.00 / +0.20 | ± 0.05 | ± 0.01 |
| 99 | 200 | 0.00 / +0.30 | ± 0.10 | ± 0.08 |
| 200 | 300 | 0.00 / +1.00 | 0.00 / +0.50 | 0.00 / +0.40 |
| Quantities | Tolerances |
|---|---|
| up to 10 kg | +100% / -50% |
| 10 - 19 kg | ±50% |
| 20 - 49 kg | ±30% |
| 50 - 499 kg | ±20% |
| from 500 kg | ±10% |
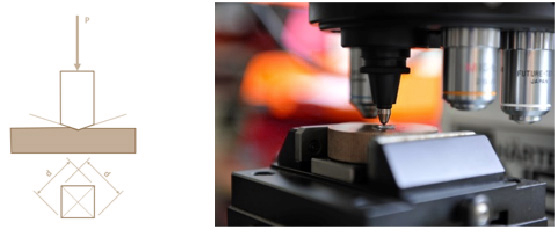
The hardness is measured in Vickers
The weight P used for the measurement is determined as per the watchmaking standard (NIHS 08-90)
The tightest possible tolerance for standard is ±10 HV
For low hardness range alloys, such as aluminium, then the tolerance can be reduced to ±5 HV
| Surface condition As per standard ISO 4288 | ||
|---|---|---|
| Standard Class B |
Improved Class E |
Mirror polish Class F |
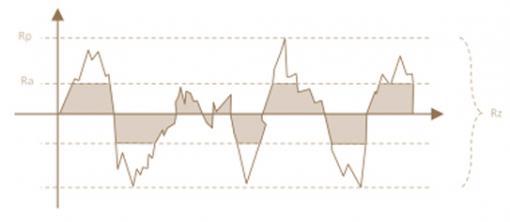
| Ra 0.20 max. | Ra 0.07 max. | Ra 0.006 max.* |
| Rz 1.8 max. | Rz 0.50 max. | Rz 0.10 max. |
| Lt = 4.00 | Lt = 1.25 | Lt = 1.25 |
The surface condition inspection is highly strict, and defined by Ra Rz. We can focus in particular on meeting the most stringent requirements of the biggest watchmaking brands.
It takes into account changes in strip colour, light reflection, aesthetic texture of the surface, etc.
* Not measurable with a standard device
| Possible internal diameter for coils | ||||
|---|---|---|---|---|
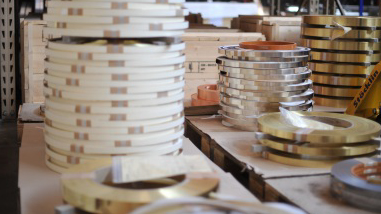
| 150 mm | 300 mm | 400 mm | 500 mm | 600 mm |
We provide every technical assistance, in:
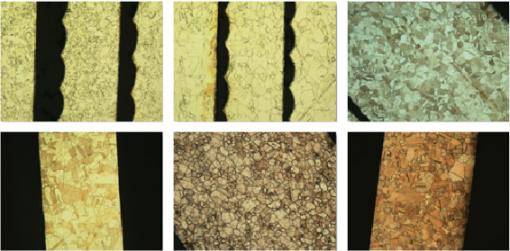
"A material's internal structure is of capital importance."
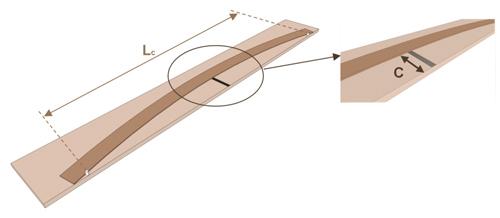
| Strip width [mm] | Maximum camber [mm/m] | ||||
|---|---|---|---|---|---|
| Thickness < 0.5 mm | Thickness > 0.5 mm | ||||
| from | to | standard | special | standard | special |
| 3 | 6 | 8,00 | 1,00 | 8,00 | 2,00 |
| 6 | 10 | 6,00 | 1,00 | 6,00 | 2,00 |
| 10 | 20 | 4,00 | 1,00 | 3,00 | 1,00 |
| 20 | 350 | 3,00 | 1,00 | 3,00 | 1,00 |
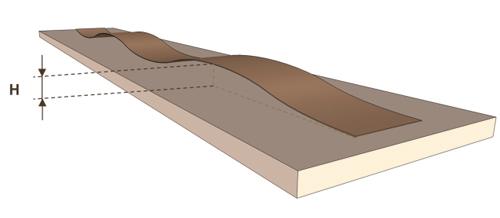
| Strip thickness [mm] | Waviness height H 50 mm specimen [mm] | ||
|---|---|---|---|
| from | to | standard | special |
| 0.10 | 0.20 | 0.02 | 0.005 |
| 0.20 | 0.50 | 0.02 | 0.006 |
| 0.50 | 1.00 | 0.03 | 0.008 |
| 1.00 | 3.50 | 0.03 | 0.02 |
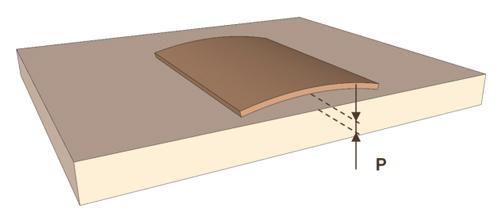
| Strip thickness [mm] | Curling height P Measured on the strip width [mm] | ||
|---|---|---|---|
| from | to | standard | special |
| 0.10 | 0.20 | 0.03 | 0.005 |
| 0.20 | 0.50 | 0.03 | 0.006 |
| 0.50 | 1.00 | 0.03 | 0.008 |
| 1.00 | 3.50 | 0.03 | 0.02 |
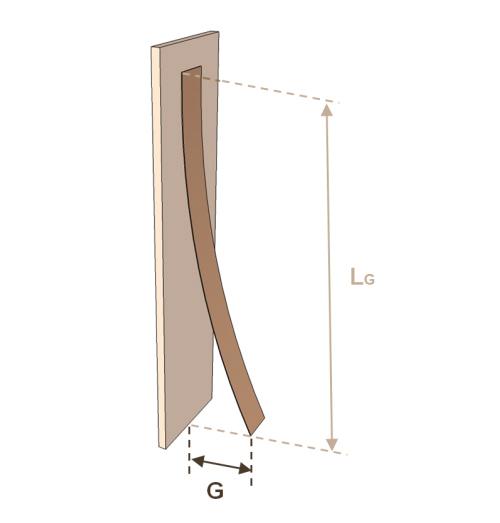
| Strip thickness [mm] | Coil set G [mm] | ||
|---|---|---|---|
| from | to | standard | special |
| 0,10 | 0,20 | 5 | 2 |
| 0,20 | 0,50 | 10 | 3 |
| 0,50 | 1,00 | 20 | 5 |
| 1,00 | 3,50 | 30 | 10 |
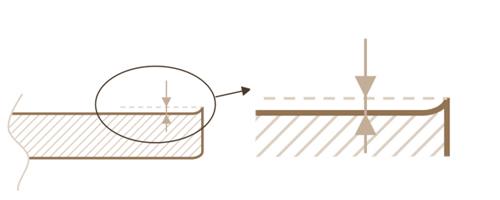
The coil set defect is directly related to the strip's coiling diameter. So the specimen must be taken from a straightened coil. The more the strip is coiled over a large-diameter ring, the less the residual curve effect will be.
We should note that with time (1-2 weeks), the material adopts the coil shape, so the strip needs to be re-straightened upon the start of production.
Do not hesitate to contact us for a quote, any questions or advice. We will get back to you as soon as possible.